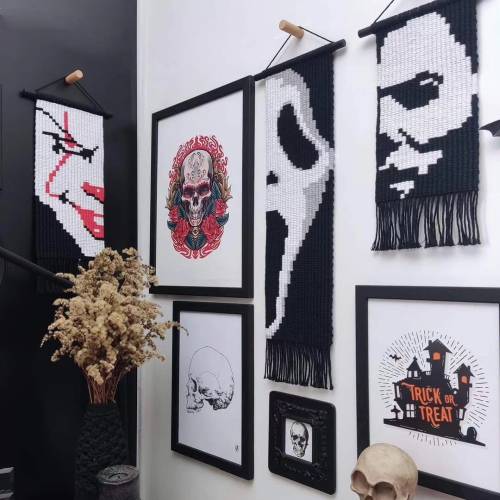
Cosplay has been a trend in recent years due to the large fandom of different iconic characters from different sources in the entertainment industry and the media. You can showcase your talent and creativity as you try to bring a fictional character to life. Your success in cosplaying could be determined by how well you can replicate a specific character, but it can be difficult, especially if you need to have very specific things like skulls you can’t just buy off shops. Technology has presented a solution that can ease the difficulty of making your customized clothing and accessories through 3D printers. Here’s how you can use it to make the perfect cosplay skulls.
Getting Your 3D Printer
The first step in making your cosplay skulls is to get the 3D printer that can create this for you. This is not your typical printer as you can create three-dimensional objects with it. Different types have different prices too. The most common and cheaper ones are Fused Filament Fabrication printers used to create layers of melted filament until it forms the object you want. The most expensive ones are Selective Laser Sintering printers which use a laser to melt the powder. These are mainly used in engineering and for industrial purposes. Lastly, Stereolithography printers can produce prints that are of high quality using a mirror, laser, and photoreactive resin. The printer you need for your cosplay stuff can be the basic one, but you can easily upgrade to the more sophisticated printers if you have the budget for it.
Making Your Design
The most crucial part is creating the design you want to be printed. You would need software that can render a 3D model. There are numerous ones online and there are also different tutorials that can teach you how to use one. If this is challenging for you, you can opt for a downloaded 3D model that is compatible with your printer for cosplay so the task is simpler and easier, allotting more time in the assembly of your costume. You can opt to make a prototype first so you can be more exact with the dimensions and colors before creating the final one. Use the extras as an emergency backup or spare accessory.
Printing and Assembling
The most important part is the actual printing of your 3D skull, which you have designed yourself. It is amazing to see it coming together, especially during your first few tries. It can take a few minutes to completely be printed so be patient. If you are making something that needs to be assembled, carefully handle the pieces, and put them together with glue. Better keep your rendered design on and so you have a reference when you put the finishing touches.
You take a character you want, be it in movies, cartoons, or anime, and recreate their looks and costumes with the help of a 3D printer. Building your accessory is easier and more convenient as you can fully customize it.


